So haven’t posted a rebuild in awhile since I’ve been very busy so this is long overdue. I had this very nice old late 60’s era Pioneer SX-1500TD dropped off to bring her back to life. This was the top of the line model in its time and was rated at a whopping 58wpc into an 8ohm load. Big power at a time when many companies just started producing solid state. I would still consider this a “Golden Era” unit since it has that 60’s character in its cap coupled circuitry.
From the start left channel not present and right channel distorted. Volume control sounds like rice krispies. Flushed out the controls and signal passes through from aux to the speakers; well not the best sounding but sound nonetheless. Remove the bottom cover and checked the power supply against the schematics. As expected not good at all except for the B+ running to the amp which is unregulated 65vDC. Since this receiver was intended for 1968 home AC voltages of ~117vAC and my home wall current is ~124vAC the B+ was a little high around 71vDC. The regulated supplies for the phono, preamp, and tuners section were off as well. So first things first.
Power supply
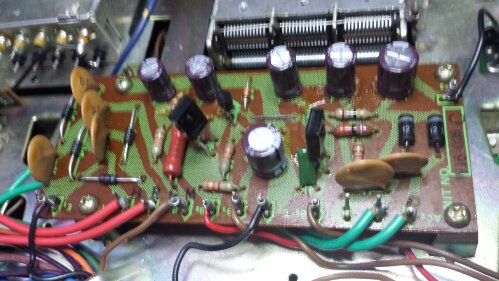
Decided on Nichicon PW series for the power supply rebuild due to their long life and high temp rating. Replaced the regulators with Fairchild semiconductors and the rectifier diodes to 1N4004 modern silicone diodes with a 400v rating. Powered up slow and every value is in spec. Listened to the receiver and things seem to be working well now. Well not going to stop there.
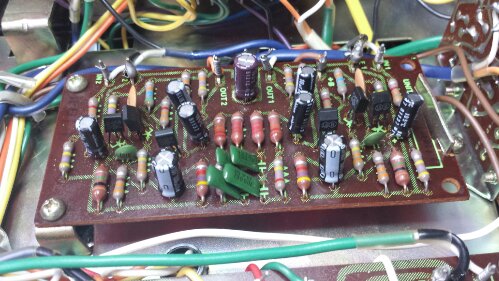
Replaced filtering caps with Nichicon PW and signal path caps with KL low leakage caps. This receiver has inputs for ceramic or moving magnet cartridges. The difference is resistorattenuation at the input jacks.
Control amp (preamplifier)
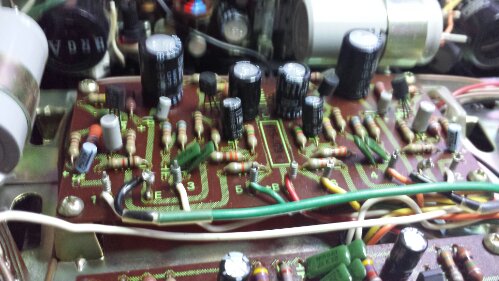
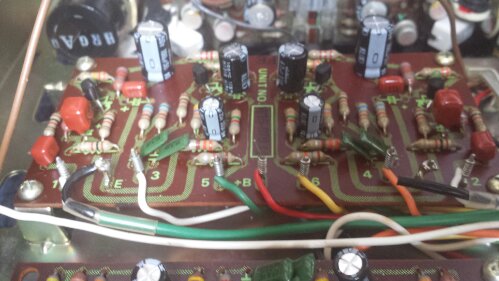
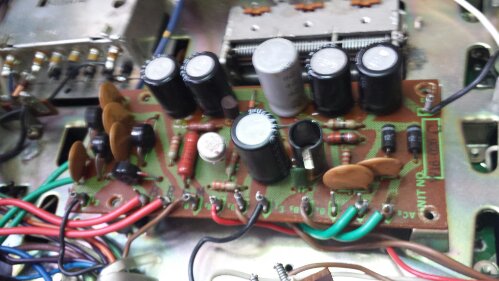
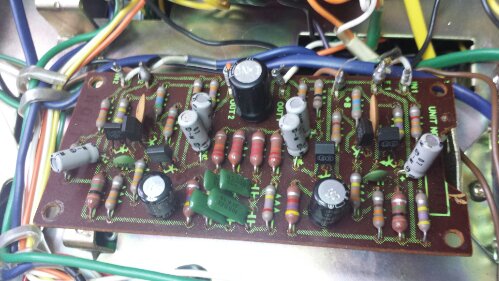
This had a very good restoration done. Electrolytics were replaced and low value caps in signal path were replaced with Panasonic stacked film caps. You can see these on the edges on the board. They are the coupling caps and in between the two transistors per channel which were also replaced with modern silicone Fairchild transistors.
Main Amplifier
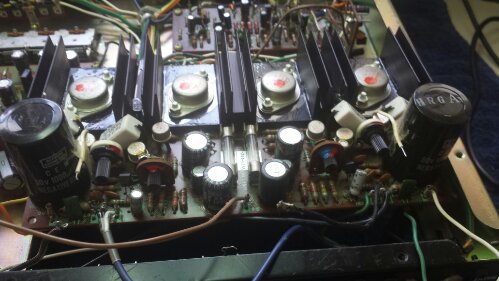
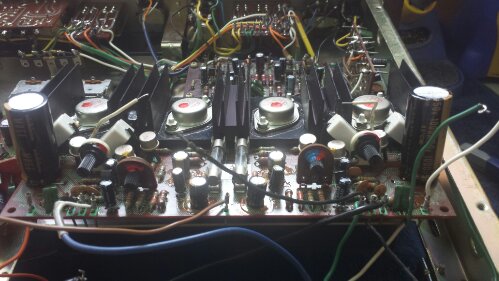
The amp board on this receiver is a challenge. Wires need to be unsoldered and the boards lifted up and over to service. Coupling caps which were 10uf were replaced with low noise Nichicon KL. The rest were replaced with Nichicon KW audio grade and the 1000uf filters with KZ premium and Gold Tunes Nichicons. The B+ single 3300uf chassis mounted cap was replaced with a higher voltage Nichicon Gold Tune.
The reconditioning really brought this receiver back to its former glory. The sound from the unit has gotten better and better as the new caps break in. There is a punchy sound when needed and a warmth that I feel gets lost in later models of solid state. Some cosmetics left to finish up and I’ll post some final shots before going home to be enjoyed.
Hi
I recently bought an SX-1500TD receiver and am going to do a refurb. I moved to the US from Europe a few tears ago and am not familiar with US component dealers. Can you tell me where you purchased the components. I studied electronics school many years ago but work on coding instead of hands on electronics. I’d appreciate any advice while working on this receiver.
Thanks & Regards
Denis
Hi Denis, check out mouser and digikey for sourcing of components. For Pioneer receivers I really like Nichicon PW series which are high temp high reliability. Any capacitors in the signal path you will need low noise capacitors like Nichicon KL, Panasonic FM, or Elna Silmic II. Check out audiokarma.org as well for lots of help and tips on your receiver. The 1500td is cap coupled and sounds very nice once restored. Any questions feel free to email me as well. Good luck and have fun.
I bought a SX1500TD that wasn’t making any sound when I bought it. The output could have been blown while it was being demo’ed. Any way both fuses were blown when i got home. Upon replacement the one on the right, while looking at the bottom from the front of the receiver, blew immediately. I’m assuming the outputs or worse are blown. Any suggestions on modern day replacements for the 2SD218 or 2SC497?
Thanks
Al
Hi Al,
ON Semiconductor makes a very good replacement for the outputs that are even tougher then the originals. MJ21193G / MJ21194G is the complimentary NPN/PNP pair. Pay careful attention to which transistor is positioned where. Here is a link to the datasheet http://www.mouser.com/ds/2/308/MJ21193-D-108487.pdf
Also, you really should build a dim bulb tester for the startup after replacement. The DBT will prevent the fuses from blowing and will alert you to a short hopefully giving you enough time to shut it down. It is very simple to build and really comes in handy. Just remember after replacing the outputs you will need to rebias the amplfier and you do not want to attempt that will the DBT hooked to the unit as it will slightly lower your line current. In the case of blown outputs I always test the drivers and emitter resistors as well. Good luck, it is very much worth getting that receiver going again.
-Mike